 how-to
How to Install a Rain Garden: Step-by-Step
Table of Contents
- What You'll Need Before Installing a Rain Garden
- Step 1: Select Your Site and Assess Drainage
- Step 2: Test Soil Infiltration and Check for Utilities
- Step 3: Determine Rain Garden Size and Depth
- Step 4: Excavate and Grade the Basin
- Step 5: Prepare Soil and Set Up Drainage
- Step 6: Plant Your Rain Garden
- Understanding Rain Garden Cost and Maintenance
- Frequently Asked Questions
Last Updated: October 14, 2026
What You'll Need Before Installing a Rain Garden
Learning how to install a rain garden requires careful planning and the right materials. Before you start digging, gather everything you'll need to complete the project successfully.
Tools you'll need:
- Shovel and spade for excavation
- Rake for grading and soil prep
- Landscape paint or chalk for marking
- Measuring tape and level
- Backhoe (optional, for larger gardens)
Materials to have on hand:
- Amended soil and compost
- Native plants suited to wet conditions
- Mulch for planting beds
- Landscape fabric (optional)
- Erosion control materials if needed
At Ward's Lawn Care & Landscape Co., we recommend having all materials on-site before you begin. This prevents delays and ensures your project stays on schedule. Check local regulations too, some areas require permits for stormwater management features like rain gardens.
Step 1: Select Your Site and Assess Drainage
The location of your rain garden determines its success. Choose a spot that naturally collects runoff but isn't in a low-lying area where water pools for days.
Look for these conditions:
- Receives runoff from your roof, driveway, or lawn
- Located at least 10 feet from your home's foundation
- Gets partial sun (4-6 hours daily is ideal)
- Has good drainage and doesn't stay soggy year-round
Observe your yard during heavy rain. Where does water flow? Where does it collect? These natural drainage patterns show you the best location for your rain garden.
Avoid placing your garden directly under downspouts without redirecting water flow.
Step 2: Test Soil Infiltration and Check for Utilities
Understanding your soil's ability to absorb water is critical. Soil infiltration rate determines how quickly water drains from your rain garden basin.
To test infiltration:
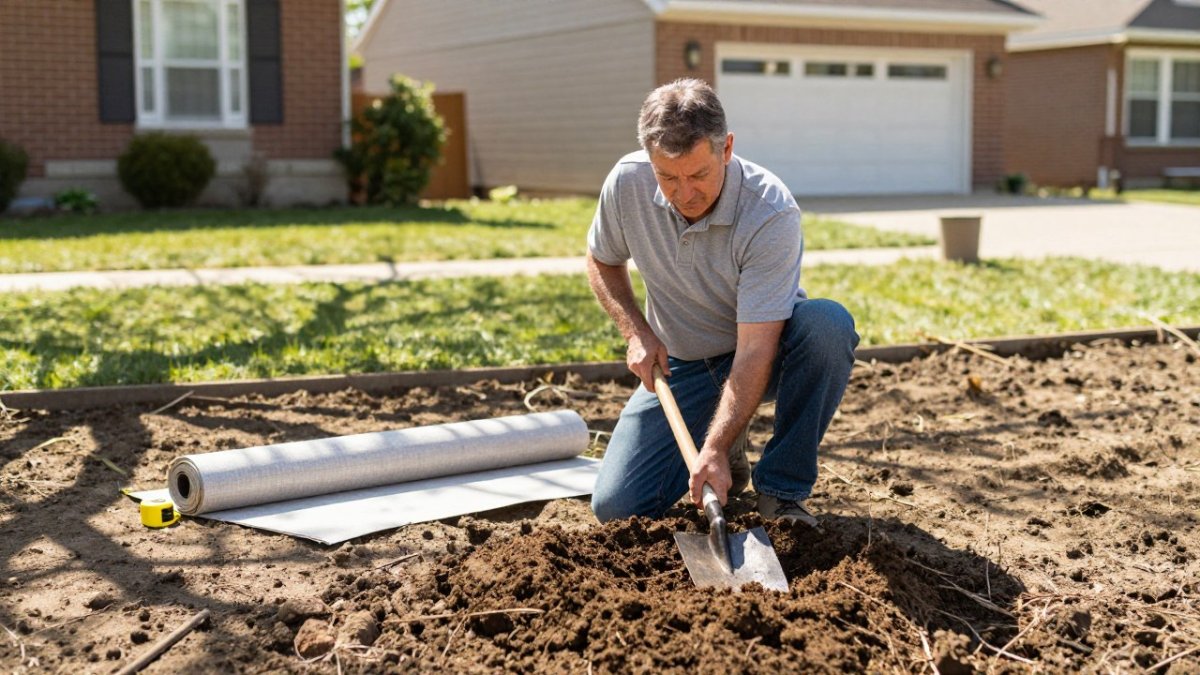
- Dig a hole 12 inches deep in your planned garden location
- Fill it with water and let it drain completely
- Fill it again and measure how many inches drain per hour
- Rain gardens work best with infiltration rates of 0.5 to 2 inches per hour
If water drains faster than 2 inches per hour, your soil may be too sandy.
Before excavating, call your local utility locating service. They'll mark gas lines, electric lines, and water pipes for free. This simple step prevents dangerous accidents and costly repairs.
Step 3: Determine Rain Garden Size and Depth
Most guides tell you to "size the garden to the runoff" without showing the math. Here is a worked example you can copy, plus the caveats that keep the estimate honest.
The sizing logic in plain terms:
- Estimate the drainage area feeding the garden (roof, driveway, patio, or a slice of lawn).
- Convert that area and your design rainfall depth into a runoff volume.
- Convert that volume into a basin footprint using your target ponding depth and a safety factor for soil infiltration.
Worked example (1,000 sq ft roof, 1-inch design storm):
- Drainage area: 1,000 sq ft of roof
- Runoff coefficient for a typical asphalt shingle roof: about 0.9 (hard surfaces shed most rain)
- Design storm depth: 1 inch
- Runoff volume = 1,000 sq ft × 1 in × 0.9 ÷ 12 in/ft ≈ 75 cubic feet
- Target ponding depth: 6 inches (0.5 ft)
- Required surface area = 75 cu ft ÷ 0.5 ft ≈ 150 sq ft
So a 1,000 sq ft roof draining to a 6-inch-deep basin points to roughly a 150 sq ft garden, about 10 ft × 15 ft. Add a 20-30% buffer for soil variability and you land near 180-200 sq ft.
Runoff coefficients to plug in (common planning values):
- Asphalt shingle roof: 0.85-0.95
- Concrete or asphalt driveway: 0.85-0.95
- Paver patio: 0.5-0.7
- Lawn on loam: 0.2-0.35
- Lawn on clay: 0.3-0.5
Depth trade-offs:
- 4-6 inches: drains fastest, safest for slow soils, needs the most surface area
- 6-8 inches: the common residential range, balances footprint and drain time
- 8-12 inches: only for well-draining soils with a confirmed infiltration rate above 0.5 in/hr; deeper basins pond longer and stress plants
Caveats that matter more than the formula:
- Local rainfall intensity varies widely. A 1-inch design storm is a common residential target, but check your area's typical short-duration storm depth before locking dimensions.
- The calculation assumes the garden actually receives that runoff. If only one downspout feeds it, size to that downspout's share of the roof, not the whole roof.
- If your infiltration test (Step 2) came back below 0.5 in/hr, do not simply shrink the garden, amend the soil or add an underdrain, or the basin will pond past 48 hours.
- A garden sized for the first inch of rain is a water-quality and volume-control feature, not a flood-control structure. Extreme storms will overflow by design.
Write your numbers down before you dig: drainage area, runoff coefficient, design storm depth, target ponding depth, and final footprint. If you ever apply for a local stormwater credit or permit, that worksheet is the first thing anyone will ask for.
Step 4: Excavate and Grade the Basin
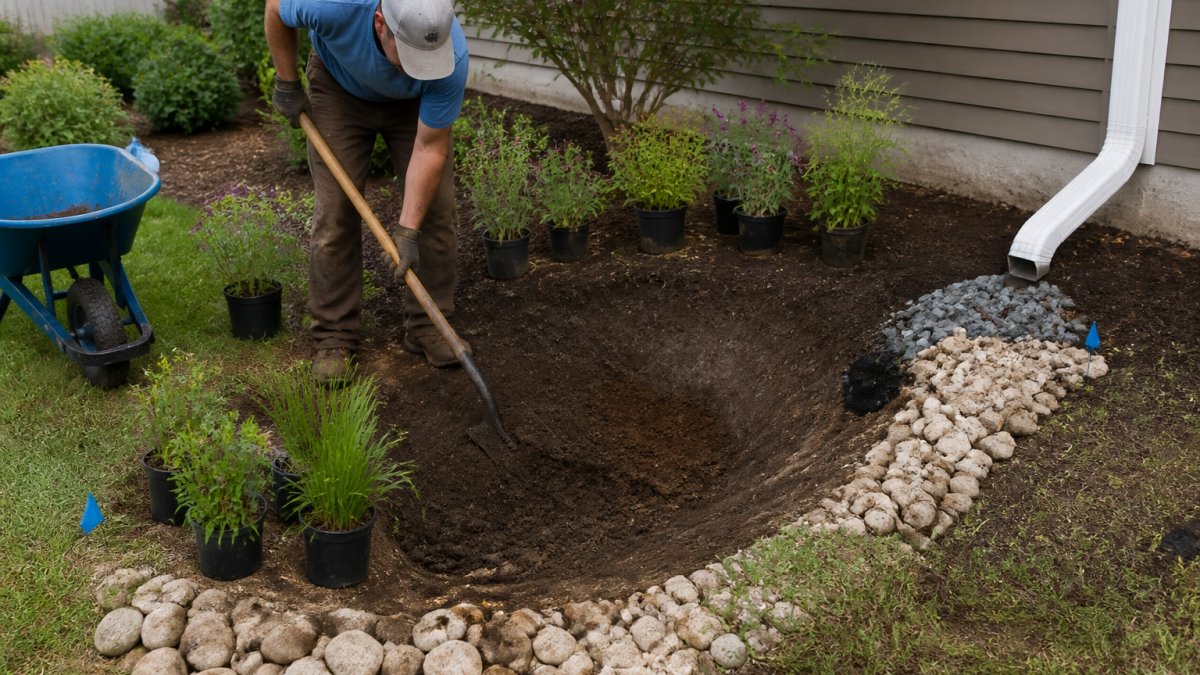
Proper excavation is a critical step in how to install a rain garden and creates the foundation for success. The basin shape and slope determine how water flows and infiltrates.
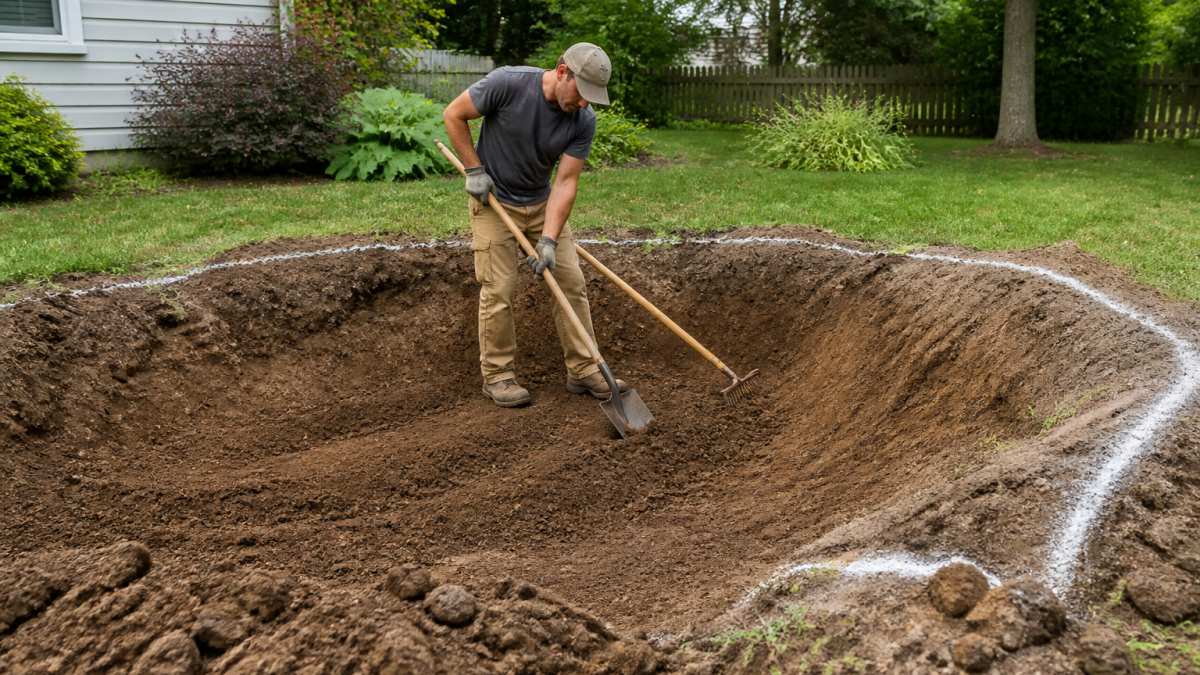
Excavation steps:
- Mark the garden outline with landscape paint
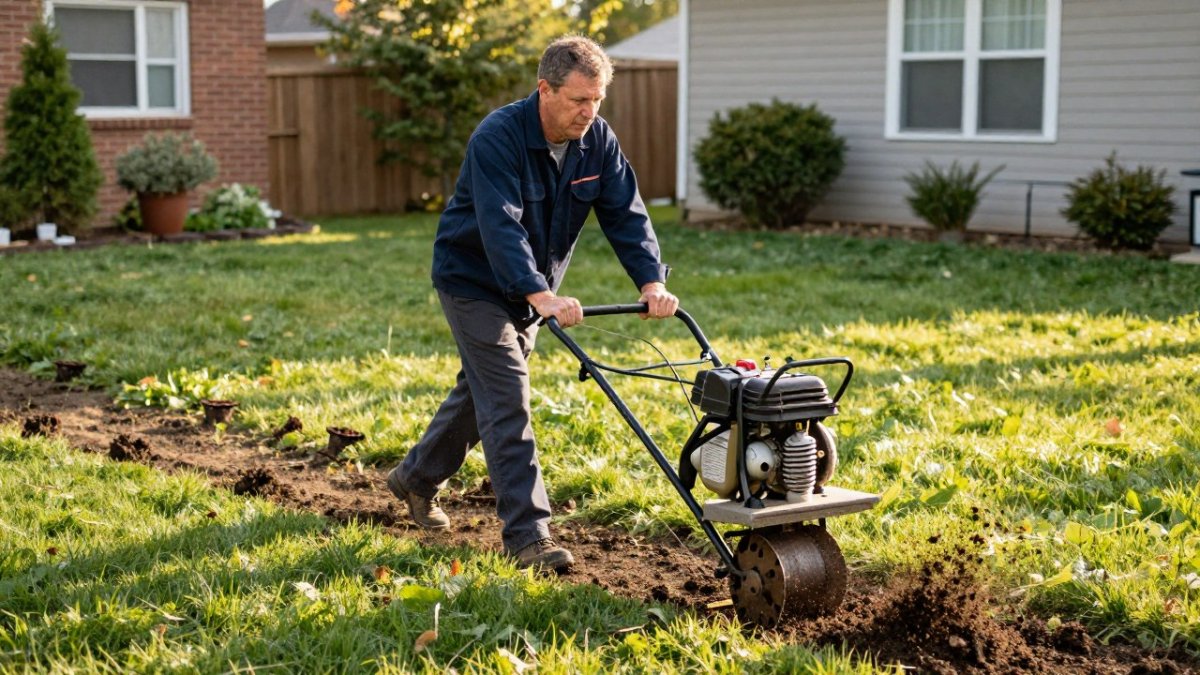
- Remove the top 6-12 inches of soil within the marked area
- Grade the basin floor to be relatively level
- Create gently sloped sides (no steeper than 3:1 slope)
- Check that water will flow into the basin from the inflow point
The basin floor should slope slightly toward the center to prevent standing water in corners. Avoid steep sides that could cause erosion or make maintenance difficult.
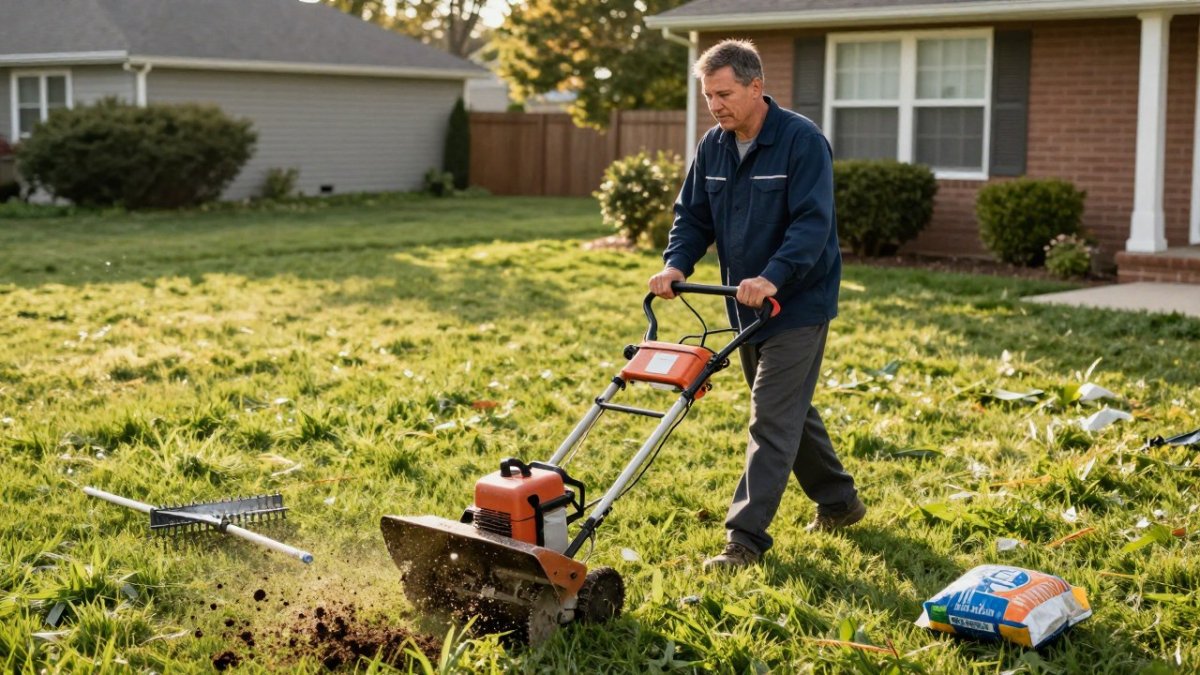
If your garden is large, consider renting a small backhoe. This saves time and ensures even grading. For smaller projects, a shovel and rake work fine.
Step 5: Prepare Soil and Set Up Drainage
The right soil mix is essential for water infiltration and plant health. Most rain gardens need amended soil rather than native soil alone.
Recommended soil mix:
- 50% compost or aged leaf litter
- 40% sand or sandy loam
- 10% native topsoil
This mix allows water to drain while retaining enough moisture for plants. Spread 4-6 inches of amended soil across the basin floor.
For drainage management, establish a clear inflow point where water enters the garden. This might be a downspout extension, graded slope, or shallow channel.
Consider installing a shallow underdrain if your soil infiltration rate is below 0.5 inches per hour.
Step 6: Plant Your Rain Garden
Native plants thrive in rain gardens because they're adapted to local conditions. Choose species that tolerate both wet periods and dry spells.
Select plants for wet conditions:
- Black-eyed Susan
- Joe-Pye weed
- Swamp milkweed
- New York ironweed
- Sedges and rushes
For drier edges, use:
- Coneflowers
- Bee balm
- Blazing star
- Asters
Space plants according to their mature size. Most rain garden plants need 18-24 inches between centers. Mulch around plants with 2-3 inches of shredded leaves or wood chips to retain moisture and suppress weeds.
Water newly planted gardens regularly during the first growing season to establish roots. After establishment, rain gardens rarely need supplemental watering.
Avoid invasive species like purple loosestrife or Japanese knotweed. Check your local extension office for lists of invasive plants to avoid in your region.
Understanding Rain Garden Cost and Maintenance
Cost and upkeep are where most rain garden guides go vague. Here is a breakdown of what actually drives the price, a seasonal maintenance calendar, and clear criteria for deciding whether to DIY or hire out.
What drives the cost:
- Size of the basin (square footage and depth)
- Whether you excavate by hand or rent equipment
- Volume and type of amended soil mix
- Number and size of plants
- Mulch and any erosion-control materials
- Underdrain or overflow plumbing, if needed
- Permits or stormwater review fees, where applicable
Typical DIY cost ranges (materials only, homeowner labor):
- Small garden, roughly 50-100 sq ft, hand-dug, basic plants: about $150-$400
- Mid-size garden, roughly 100-250 sq ft, amended soil and a fuller plant palette: about $400-$1,200
- Large garden, 250+ sq ft, equipment rental, underdrain, and mature plants: about $1,200-$3,000 or more
Typical professional installation ranges:
- Design and install, small residential garden: about $1,500-$4,000
- Design and install, larger or engineered garden with underdrain: about $4,000-$10,000 or more
These are planning ranges, not quotes. Local labor rates, plant sizes, and site access move the number significantly.
DIY vs. hire a contractor, decision criteria:
- DIY is reasonable if: the garden is under roughly 150 sq ft, your infiltration test passed, no permit is required, utilities are marked, and you can move soil and plants yourself over a weekend or two.
- Hire a professional if: your soil fails the infiltration test, the site slopes toward the foundation, you need an underdrain or engineered overflow, a permit or stormwater review is required, or the basin exceeds what you can safely excavate by hand.
- Get a licensed landscape or stormwater contractor when: the work touches drainage that affects neighboring properties, or your municipality requires a stamped plan.
Seasonal maintenance calendar:
- Spring: cut back dead stems, check that the inflow channel is clear, top-dress mulch to 2-3 inches, replace any plants lost over winter.
- Summer: water new plantings during dry spells in the first growing season, weed aggressively, and watch for ponding that lasts more than 48 hours after a storm.
- Fall: the highest-effort season, remove leaves and sediment from the inflow and basin, cut back spent perennials, and confirm the overflow outlet is unobstructed before winter.
- Winter: avoid walking on a frozen or saturated basin, keep de-icing salt and sand out of the garden, and note any erosion at the inlet for spring repair.
Long-term performance tasks:
- Remove accumulated sediment every 1-2 years; a basin that ponds longer than it used to is usually silted in.
- Renew mulch every 2-3 years.
- Divide or replace overgrown and underperforming plants as the garden matures.
- Re-check the inflow and overflow after every major storm for the first year.
When to call for help:
- Water stands more than 48 hours after rain (infiltration problem, not normal settling)
- Water bypasses the garden entirely (grading or inlet problem)
- The inlet is eroding (flow velocity too high)
- The garden overflows during ordinary storms (undersized or clogged)
A well-built rain garden drains within 24-48 hours and needs only a few hours of care each season after the first year.
Frequently Asked Questions
How do you make a rain garden?
Install a rain garden by selecting a low spot near roof runoff, testing soil infiltration, excavating a shallow basin 4-8 inches deep, amending soil with compost, and planting native, wet-tolerant plants. Direct downspout inflow into the basin so stormwater infiltrates into the ground rather than running off into storm drains. The process typically takes a weekend for a small residential garden.
What should rain garden size and depth be for my property?
Rain garden size depends on your roof area and local rainfall. A general rule: the basin should capture runoff from impervious surfaces like roofs and driveways. Depth typically ranges from 4-8 inches; shallower gardens drain faster and suit well-draining soils, while deeper basins retain water longer for drier climates. Consult local stormwater guidelines or a professional to calculate the right dimensions for your roof area.
What are the best plants for a rain garden?
Choose native plants that tolerate both wet and dry conditions. Wet-tolerant species include sedges, joe-pye weed, and swamp milkweed; drought-tolerant plants like coneflower and black-eyed Susan handle dry spells between rains. Space plants 18-24 inches apart and use mulch to retain moisture during establishment. Avoid invasive species and select plants suited to your regional climate.
How much does it cost to install a rain garden?
Costs vary based on size, soil amendments, and plant selection. Factors include soil testing, amended soil, native plants, mulch, and labor. Contact Ward's Lawn Care & Landscape Co. for a free estimate tailored to your property.
A rain garden transforms how your property handles stormwater while creating habitat for native plants. The installation process requires planning and effort, but the long-term benefits justify the work. Ward's Lawn Care & Landscape Co. specializes in landscape construction projects like rain gardens. Our team can handle site assessment, excavation, soil preparation, and planting to ensure your garden performs reliably for years. Contact us for a free estimate on your rain garden project.