 how-to
How to Prepare Your Lawn for Spring 2026
Table of Contents
- When to Start: Using Soil Temperature to Guide Your Spring Lawn Preparation
- Step 1: Clear Winter Debris and Assess Lawn Damage
- Step 2: Apply Pre-Emergent Herbicide at the Right Time in Ohio
- Step 3: Aerate Your Lawn and Address Soil Compaction
- Step 4: How to Fix Bare Spots in Grass Through Overseeding
- Step 5: Feed Your Lawn with Spring Fertilization
- Step 6: Sharpen Mower Blades and Set Correct Mowing Height
- Step 7: Establish a Spring Watering Schedule
- Frequently Asked Questions
Last Updated: September 30, 2026
When to Start: Using Soil Temperature to Guide Your Spring Lawn Preparation
Soil temperature is your most reliable signal for when to prepare lawn spring work. Most homeowners rely on the calendar. That's a mistake. Your lawn responds to soil conditions, not dates.
Check your soil temperature with a simple soil thermometer. Push it 4 inches deep in several spots across your yard. When soil consistently reads 40°F or above, your grass is waking up. This is when active growth begins and your lawn can handle the work ahead.
In our region, this typically happens in mid-April, but it varies by year. Cold springs delay everything. Warm springs accelerate it. Watch the soil, not the calendar.
At Ward's Lawn Care & Landscape Co., we've been tracking these patterns for decades. The difference between starting too early and starting at the right time is dramatic. Early work on frozen or waterlogged soil damages your turf. Waiting for the right soil temperature protects your investment and delivers better results.
Step 1: Clear Winter Debris and Assess Lawn Damage
Start by removing everything winter left behind. Leaves, branches, and accumulated debris suffocate grass and trap moisture that promotes disease. Walk your entire lawn and clear by hand or use a rake.
As you clear, assess the damage. Look for bare spots, thin patches, and areas where snow mold created dead zones. Snow mold appears as matted, discolored grass that doesn't green up as temperatures warm. Mark these problem areas mentally or on paper.
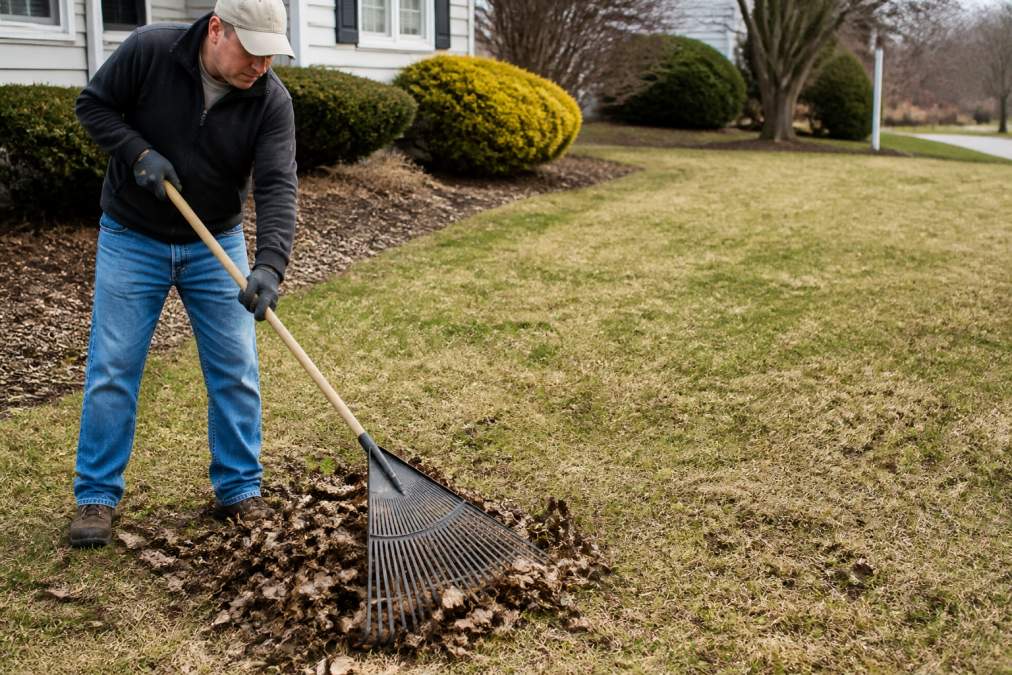
Check for soil compaction in high-traffic areas. Press your boot heel into the soil. If it doesn't spring back, compaction is your problem. Compacted soil restricts root development and water penetration. You'll address this in Step 3 with aeration.
This step takes a few hours for most residential yards. Don't rush it. A clean lawn responds better to everything that follows.
Step 2: Apply Pre-Emergent Herbicide at the Right Time in Ohio
Pre-emergent herbicide is your crabgrass defense. It creates a barrier that stops weed seeds from germinating. Timing matters completely.
Apply pre-emergent when soil temperature reaches 55°F for 3 consecutive days. This is typically mid-April in our area. Crabgrass seeds germinate when soil hits that temperature. You need the barrier in place first.
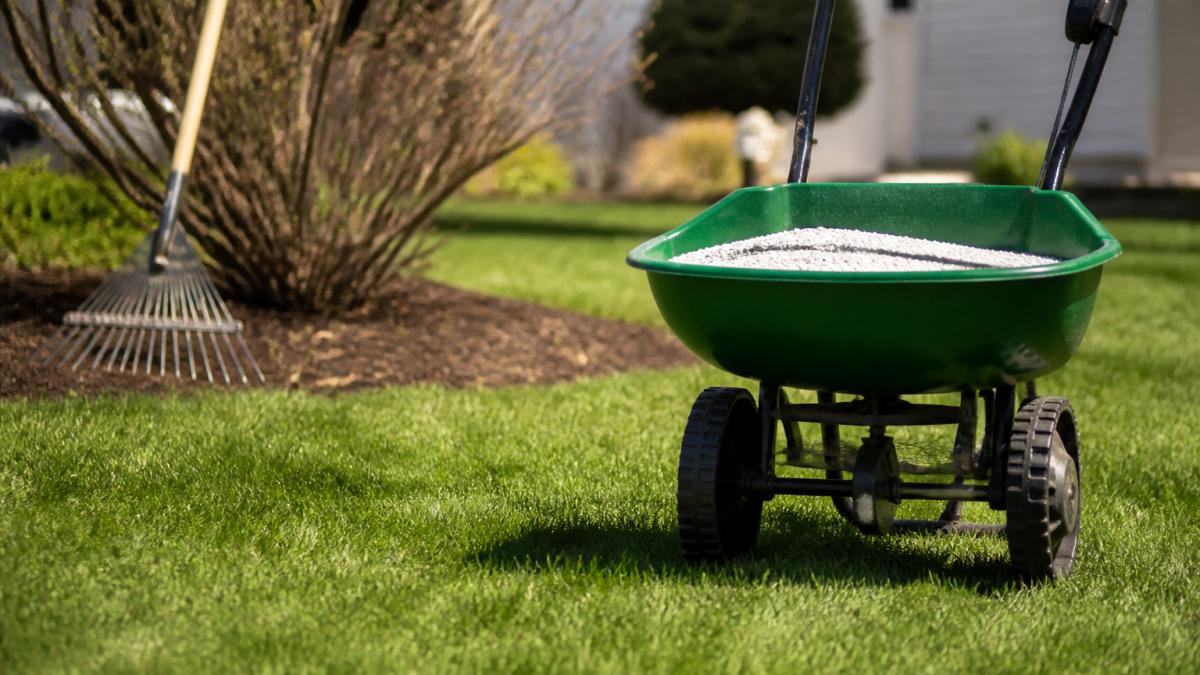
Apply it before you aerate or overseed. Pre-emergent will also block grass seed germination, so sequence matters. Spread pre-emergent evenly across your lawn using a drop spreader. Follow the product label for application rates. Water lightly after application to activate it.
The best time to apply pre-emergent in Ohio is when soil consistently reads 55°F or higher. This prevents crabgrass before it starts. One application handles the entire season for most properties.
Step 3: Aerate Your Lawn and Address Soil Compaction
Aeration punches small holes in your lawn to relieve soil compaction and improve water penetration. Compacted soil strangles root development. Aeration fixes this by creating pathways for roots to expand and water to reach deeper soil layers.
Core Aeration vs. Spike Aeration
Use a core aerator, not a spike aerator. Core aerators remove small plugs of soil (roughly the size of a pencil). Spike aerators just poke holes without removing soil. Core aeration is vastly more effective for soil compaction problems because it actually relieves pressure rather than compacting soil further.
DIY Rental vs. Professional Service: Cost and Effort Analysis
You have two primary options: rent equipment and aerate yourself, or hire a professional service. Each has distinct trade-offs.
DIY Equipment Rental:
- Cost: Core aerator rental typically runs $60-$90 per day from local equipment rental centers. Fuel (if gas-powered) adds $5-$15.
- Time commitment: Plan 2-4 hours for a typical residential lot (5,000-10,000 square feet), including equipment pickup, setup, and cleanup.
- Physical demand: Operating a core aerator requires significant physical effort. The machine weighs 100-150 pounds and can be difficult to maneuver, especially on slopes or around obstacles.
- Best for: Homeowners with smaller yards (under 5,000 square feet), those comfortable with equipment operation, and those who want to repeat the task annually without ongoing service costs.
Professional Aeration Service:
- Cost: Professional aeration typically ranges from $150-$400 for a residential property, depending on yard size and soil condition. Some services bundle aeration with overseeding or fertilization at a discount.
- Time commitment: None, the service handles everything. Technicians arrive, complete the work (usually 1-2 hours), and leave.
- Equipment and expertise: Professionals use commercial-grade aerators and know optimal timing based on soil conditions. They can identify problem areas (compaction hotspots, drainage issues) and adjust their approach accordingly.
- Best for: Homeowners with larger yards (over 7,500 square feet), those with physical limitations, and those who prefer professional assessment of soil conditions.
Decision Framework: If your yard is under 5,000 square feet and you're comfortable with equipment rental, DIY aeration saves money over time. If your yard exceeds 7,500 square feet or you have significant compaction issues, professional service often delivers better results and saves physical strain. Many homeowners split the difference: rent equipment for small problem areas and hire professionals for full-yard aeration every 2-3 years.
Timing and Application
Aerate after pre-emergent has set (4-6 weeks post-application). Spring is ideal because soil moisture is high and grass is actively growing. Aeration creates stress, but spring growth recovers quickly, typically within 2-3 weeks.
Make 2-3 passes over your lawn in different directions. Leave the soil plugs on the surface. They break down naturally over 2-4 weeks and return nutrients to your lawn. Water your lawn after aeration to help it recover and settle soil.
Aeration opens soil for better root development and nutrient absorption. Most lawns benefit from annual aeration in spring, especially in high-traffic areas or yards with clay-heavy soil.
Step 4: How to Fix Bare Spots in Grass Through Overseeding
Overseeding fills bare spots and thickens thin areas. Do this after aeration, when soil is loose and receptive. However, seed selection is more nuanced than simply "matching" your lawn, the specific grass species in your yard has distinct spring establishment requirements.
Identify Your Existing Grass Type
Most lawns in the region are composed of cool-season grasses.
- Kentucky Bluegrass germinates best when soil temperature reaches 50-60°F and has excellent self-repair capability through rhizomes. It tolerates shade well and recovers quickly from traffic stress. If your lawn already contains Kentucky Bluegrass, overseed with the same species for seamless blending.
- Tall Fescue requires slightly warmer soil (55-65°F) for optimal germination and establishes faster than Kentucky Bluegrass in the first 4-6 weeks. It performs better in compacted soils and high-traffic areas. Many newer lawn blends in the region use Tall Fescue for this reason.
Seed Selection and Application
Establishment Timeline and Care
New grass needs 3-4 weeks to establish before full lawn care resumes. Delay heavy fertilization and mowing until new grass reaches 3-4 inches tall. Avoid walking on newly seeded areas during the first 3 weeks to prevent soil compaction and seed disturbance.
Step 5: Feed Your Lawn with Spring Fertilization
Spring fertilization jumpstarts growth as your grass emerges from dormancy. Choose a balanced fertilizer with nitrogen to support leaf growth.
Step 6: Sharpen Mower Blades and Set Correct Mowing Height
Dull blades tear grass instead of cutting it. Torn grass tips brown and become susceptible to disease. Sharp blades make clean cuts that heal quickly.
Step 7: Establish a Spring Watering Schedule
Spring watering depends on rainfall. If you receive 1 inch per week, supplemental watering isn't necessary (Summer Lawn Care Strategies). If rainfall is lighter, water to compensate.
| Watering Scenario | Frequency | Duration | Best Time |
|---|---|---|---|
| No rainfall | 2-3 times weekly | 30-45 minutes | Early morning |
| Light rainfall (under 0.5 inch) | 1-2 times weekly | 30-45 minutes | Early morning |
| Adequate rainfall (1 inch+) | None needed | N/A | N/A |
| Hot, dry periods | 3+ times weekly | 45-60 minutes | Early morning |
Frequently Asked Questions
What is the first thing you should apply to your lawn in the spring?
The first step is clearing winter debris like leaves and dead grass, then assessing damage from snow mold or frost heave. Once soil temperature reaches 55°F consistently, apply pre-emergent herbicide to prevent crabgrass germination. Pre-emergent must be applied before soil warms further, making timing critical for weed prevention before the growing season begins.
When is the best time to apply pre-emergent in Ohio?
Apply pre-emergent when soil temperature reaches 50-55°F for two consecutive days. In Ohio, this typically occurs in mid-to-late April. Soil temperature is more reliable than calendar dates because crabgrass germinates when soil reaches this threshold. Applying too early wastes the product; applying too late allows crabgrass to germinate before the herbicide can prevent it.
Is spring the right time to overseed my lawn in Ohio?
Spring is acceptable for overseeding, but fall (September-October) is ideal because cooler temperatures and moisture reduce stress on new seedlings. If you overseed in spring, do it after soil temperature stabilizes around 60°F and before summer heat arrives. Spring overseeding works best for fixing bare spots and thin areas caused by winter damage, as long as you water consistently during establishment.
What makes spring lawn aeration important for Ohio lawns?
Spring aeration relieves soil compaction, improves water infiltration, and promotes root development in turfgrass. Ohio's clay-heavy soils compact easily under winter snow and foot traffic. Aeration creates channels for oxygen, water, and nutrients to reach grass roots, improving overall turf health and recovery from winter dormancy. Perform aeration after the last frost but before hot summer temperatures stress the lawn.